Week 5 Exercises
Printable PDF |
| ||
Exercises: Fundamentals
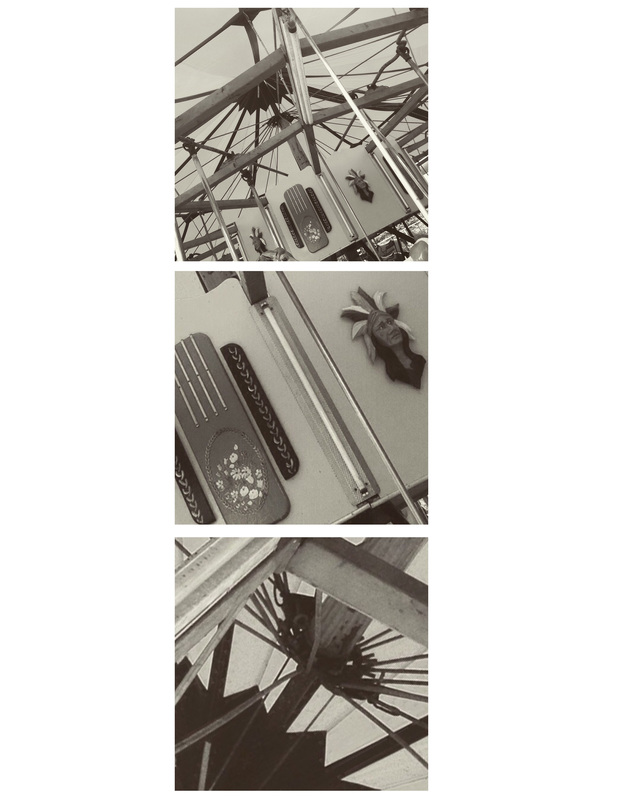
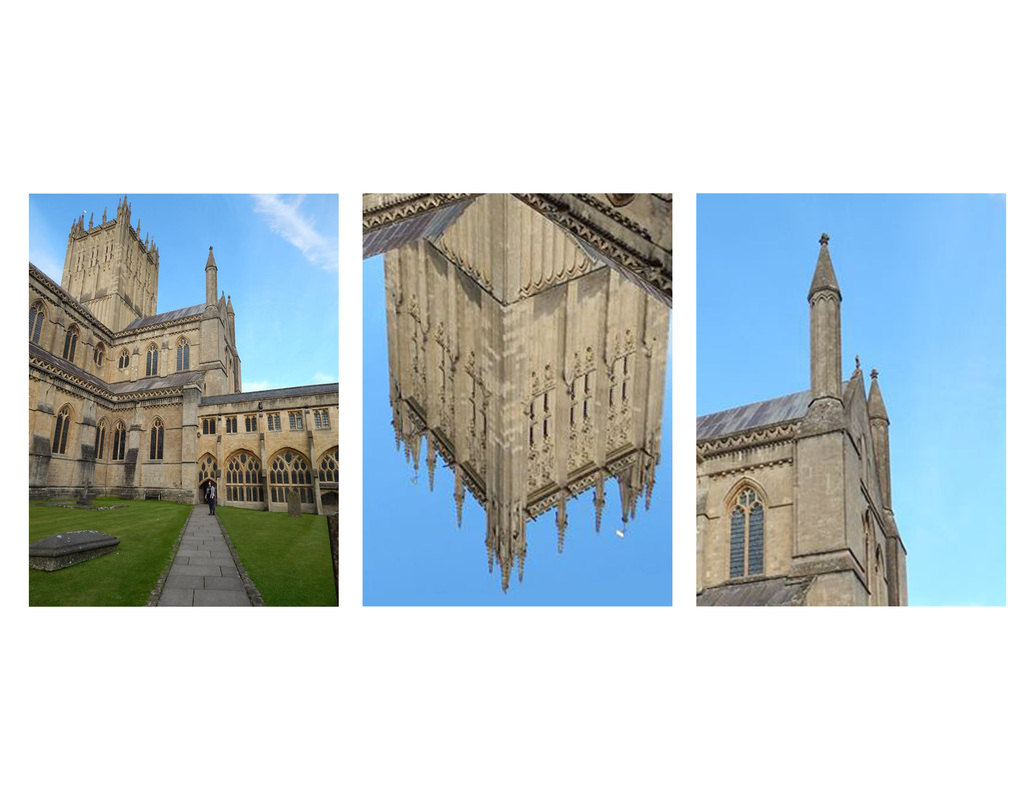
LESS IS MORE: 2 Versions (2 PSD and 2 JPEG)
LESS IS MORE: 2 Versions (2 PSD and 2 JPEG)
- Choose 2 LARGE photographs or illustrations of your own or 2 LARGE photographs from a GoogleSearch (only in a pinch).
- In PHOTOSHOP: Open a new document Letter size 8.5 x 11 inches and Resolution 300 ppi.
****Create a horizontal document for vertical photos. Create a vertical document for horizontal photos. - Drag and Drop a photograph of your own (from the photo homework) in you PS file.
- Resize the photo by HOLDING SHIFT key and dragging from the corner (the goal is to have 3 images that are the same size with a white margin around each fitting in your 8.5x11 document). Be sure SHOW TRANSFORM CONTROLS is checked in the options bar for the MOVE tool, this will give you the 4 corner points you need to resize your image.
- Copy your chosen photograph 2 times on the canvas (use Command key and J key together to copy).
- Select all 3 layers by clicking on the top one and holding SHIFT key and clicking on the last one.
- Resize the 3 photos until they fit on the canvas with margins (see above). Make them as big as possible with margins.
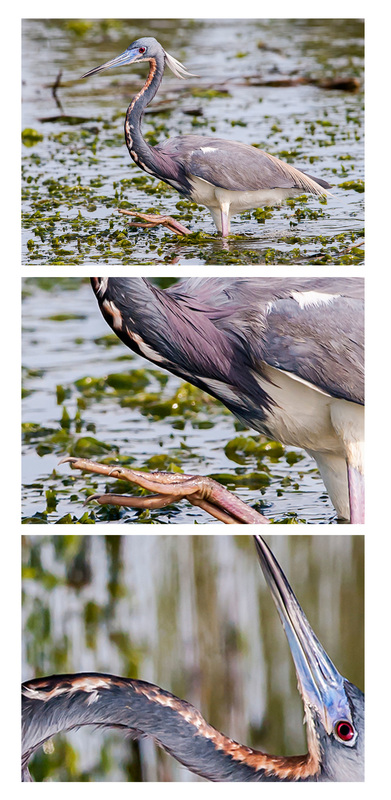
- Leave the photograph in the first box alone. (the one at the top)
- Duplicate your second and third photograph layers. CMD J
- On the line between the copy and the layer below click holding the Option key to create a Clipping Mask. (Your icon will change from a finger to an arrow and square)
- Using the Move tool, with the Show Transform Controls checked in the Options Bar, Resize the Photo and/or Rotate it to create an interesting Crop. SCALE BY HOLDING SHIFT AND PULLING FROM CORNERS.
- Save your First file as:
lastname-‐first-‐crop1
Choose Photoshop (PSD)
Save to Safe Volume
**Save a JPEG at Maximum (12) Quality as well, keep the name and location the same. - Repeat the process with the second photograph you chose.
- Change the file name to lastname-‐first-‐crop2 Save as described above.
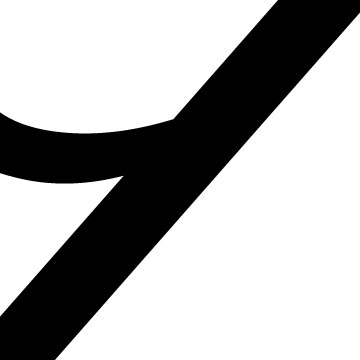
POSITIVE AND NEGATIVE SPACE: Lower case and Capitol letter studies (2 Ai files, 10 JPEGS)
- In Illustrator create a 5x5 document.
- Type a lowercase black letter in any font.
- Click on the black arrow (Selection Tool). Then go to Type menu and choose Create Outlines so the Letter is now Paths.
- *****OPTIONAL CLIPPING MASK- Create a 5x5 box using the Rectangle Tool.
Align it to the edges of your white canvas space. Click COMMAND key and A key, or go to the Select menu and choose Select All.
With the box and letter selected go to the Object menu and choose Create Clipping Mask. Now you can not see the letter extending beyond the white canvas space. - Copy and Paste the letter onto 4 New Layers. (you should have a TOTAL OF 5 LAYERS)
- Turn off Visibility to all Layers except the first one.
- Enlarge the Letter on the canvas so it becomes an interesting Crop.
**Don’t worry about the parts of the letter that extend into the gray area of Illustrator, they will not show up in your final version. That is a work area. To Preview your image trimmed go to Save for Web and check out the Preview, don’t save through. - Continue to turn off layers you have completed and move up the chain until each letter has a unique crop. You can turn and scale the letter. SCALE BY HOLDING SHIFT AND PULLING FROM CORNERS.
- Get Creative. Think about the active positive space (the black letter) and the white negative space of the canvas. If you like you can create a black background and use white letters.
- When it is complete Save the document as an Ai file “last name-‐first-‐pn1”.
- Save a JPEG or GIF for each layer (repetitive process) by going to Save For Web. You must click on the layer to save and ensure only its Visibility is on, then go to Save for Web. Repeat for all layers!
- Repeat the whole process in a new document with a capital letter that does not look like its lowercase counterpart (such as an Aa, do not use the likes of an Ss).
- When it is complete Save the document as an Ai file “last name-‐first-‐pn2”. Save the JPEGS for it as instructed above.

|
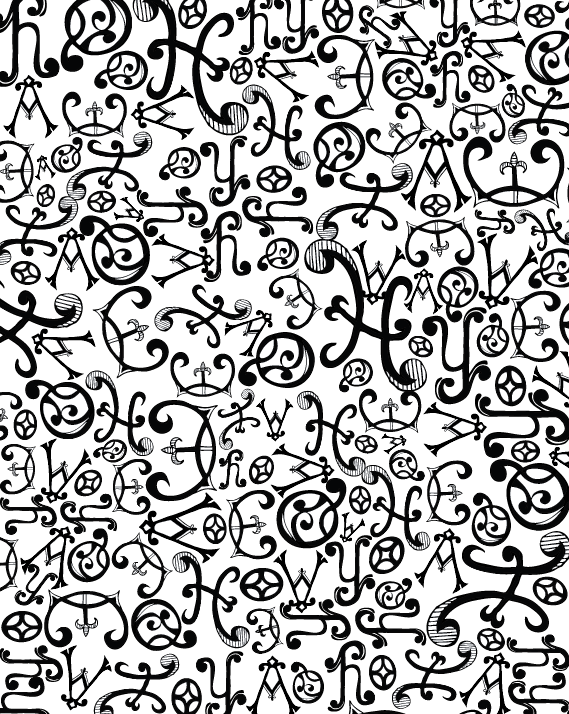
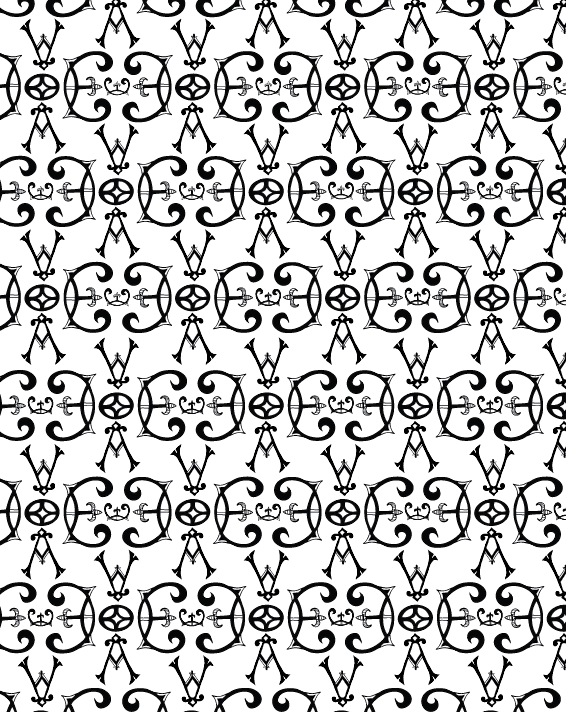
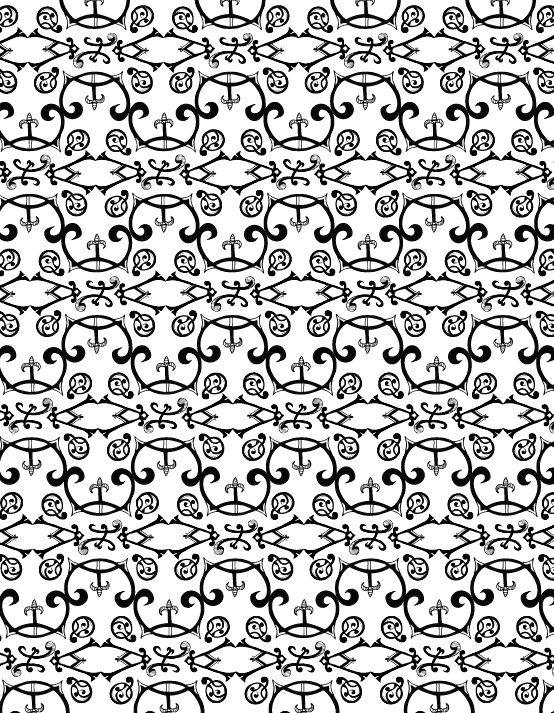
PATTERN: 1 Single Letter Pattern (1 Ai file, 1 JPEG)
Scroll down and check out Zuzana Licko's examples https://www.fontshop.com/search/?q=hypnopaedia |

Zuzana Licko
© All Rights Reserved
https://www.fontshop.com/search/?q=hypnopaedia
https://www.fontshop.com/designers/zuzana-licko
|
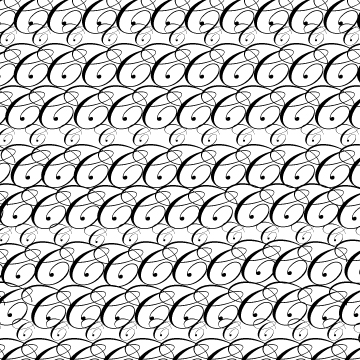
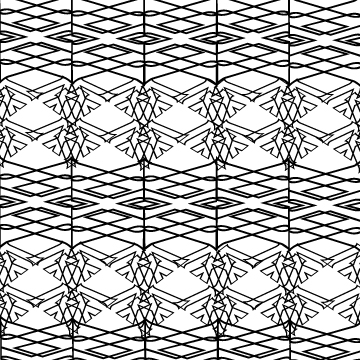

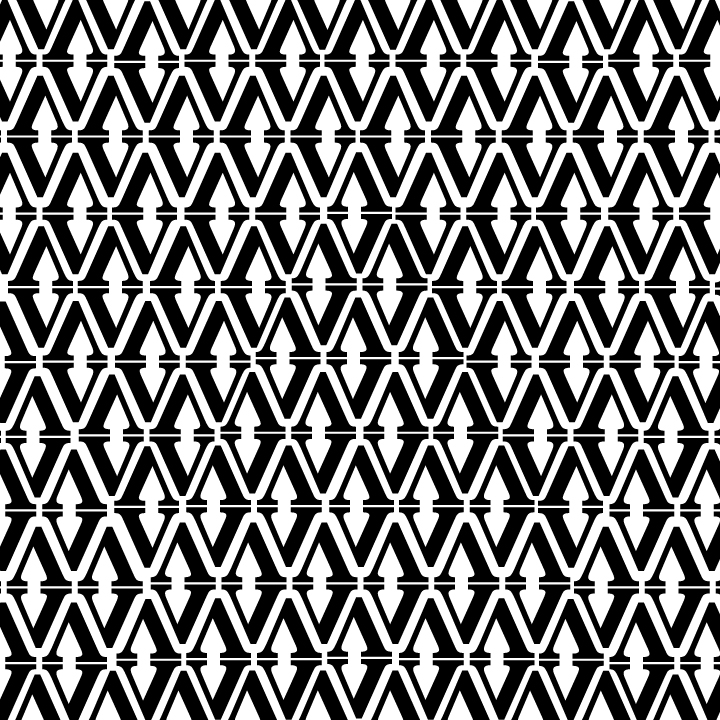

FIGURE GROUND 4 VARIATIONS: (4 Ai files, 4 JPEGS) 3 Letter Word Pattern
Symmetric Pattern
Symmetric Pattern in Reverse
Organic Pattern
Organic Pattern in Reverse
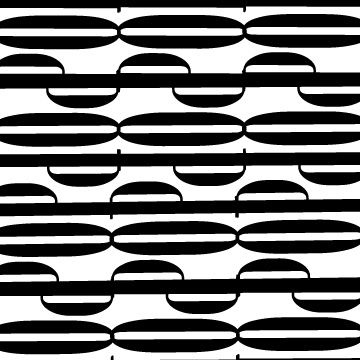
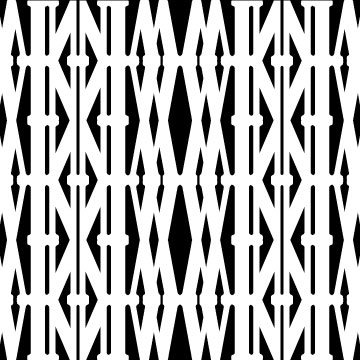
SYMMETRIC PATTERN:
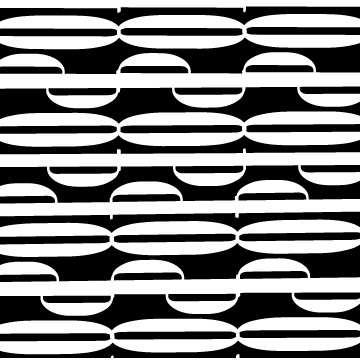
REVERSE OF PATTERN:
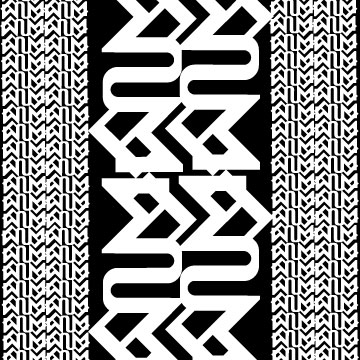
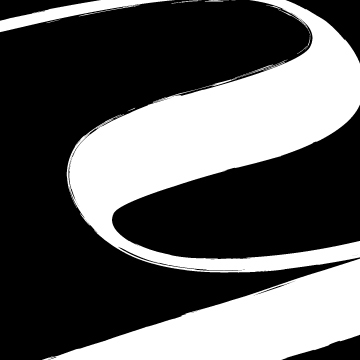
ORGANIC and REVERSED ORGANIC PATTERN:
Symmetric Pattern
Symmetric Pattern in Reverse
Organic Pattern
Organic Pattern in Reverse
SYMMETRIC PATTERN:
- In Illustrator create a 5x5 document.
- Type a black 3 letter word. Create Outlines so the Word is now Paths.
- Create a SYMMETRIC PATTERN using the Word, ensure the pattern extends off the canvas. Abstract the Word, Get Creative.
- When it is complete Save the document as an Ai and JPEG file. “last name-‐first-‐fg1”
REVERSE OF PATTERN:
- Now SAVE AS the file as “last name-‐first-‐fg2”.
- Select All to select all the letters in your pattern. Change their Fill Color to White.
- Add a layer below your layer of pattern. Create a black square to cover the background.
- Save the document as an Ai (see name above) and JPEG file.
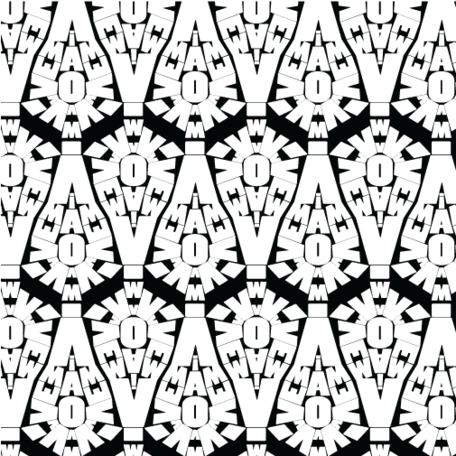
ORGANIC and REVERSED ORGANIC PATTERN:
- Now SAVE AS the file as “last name-‐first-‐fg3”.
- Repeat the process in this new document with the same word except this time form a more random, yet balanced composition.
- Get Creative!
- When it is complete Save the document as an Ai and JPEG file. “last name-‐first-‐fg3”
- Now SAVE AS “last name-‐first-‐fg4”. Reverse the white and black. Save the document as an Ai and JPEG file.